 Media Coverage
 Press Release
How to refresh tableau dashboard
Refresh tableau dashboard
Tableau dashboard refresh
Tableau CRM (formerly known as Einstein Analytics) dashboards are a powerful tool for data visualization and analysis. Users often interact with these dashboards by applying filters and drilling down into data to gleaning insights that may not be readily available. However, at times, users may also want to reset all the applied filters and return to the initial state of the dashboard to start afresh. This is where a refresh button could come in handy.
In this blog post, I will show you how to create a custom Refresh button component in Tableau CRM using Lightning Web Components (LWC). This is a simple and straightforward process, and the results can be a valuable enhancement for your users.
What’s a Refresh Button in Tableau CRM?
A Refresh button is a UI component that, when clicked, clears all the applied filters and resets the dashboard to its default state. This can be especially useful in instances when users want to start their analysis anew or when the dashboard has complex filters applied.
What You Need to Accomplish the Task?
In order to implement a custom-built Refresh button in Tableau CRM, you’ll need three things:
- A Tableau CRM (Einstein Analytics) dashboard
- Access to the dashboard configuration settings
- Developer skills for creating and deploying LWC in Salesforce
Once you’re adequately prepared, here are the steps you’ll need to follow:
Step 1: Create a Lightning Web Component (LWC)
To create a Refresh button, start by building a Lightning Web Component (LWC) in Salesforce. This component will be embedded in the Tableau CRM dashboard.
Step 2: Define the HTML Markup
Inside your LWC’s HTML file (let’s call it refreshButton.html), define the HTML structure for your button. Here’s an example:
Html file:
<template>
<div class="reset-btn_container">
<lightning-button
variant="base"
label=""
aria-label="Clear Filters"
onclick={clearFilters}
class="slds-m-right_x-small hpe-icon-button hpe-icon-bare"
></lightning-button>
</div>
</template>In this markup, we create a container for the button, and we use a lightning-button element to create the button itself. We set its label, variant, and an onclick event handler to call the clearFilters method when clicked.
Step 3: Define the JavaScript Logic
In the LWC’s JavaScript file (refreshButton.js), we define the logic to clear the filters when the button is clicked. Here’s an example:
JS file:
import { LightningElement, api, track } from 'lwc';

export default class DceResetDashboardButton extends LightningElement {
  @api getState;
  @api setState;
  @api refresh;
  @track initialState = null;

  clearFilters() {
    const {state, pageId} = this.getState();
    const newState = {
      state: {
        ...state,
        datasets: this.initialState.state.datasets,
        steps: Object.fromEntries(Object.entries(state.steps).map(([k, v]) => {
          return [k, {
            ...v,
            values: []
          }]
        })),
      },
      pageId,
    }

    this.setState({
      ...newState,
      replaceState: true
    });
  }

  connectedCallback() {
    this.initialState = this.getState();
  }
}
Xml file:
<?xml version="1.0" encoding="UTF-8"?>
<LightningComponentBundle xmlns="http://soap.sforce.com/2006/04/metadata">
    <apiVersion>54.0</apiVersion>
    <isExposed>true</isExposed>
    <masterLabel>Reset Filters Button</masterLabel>
    <targets>
        <target>analytics__Dashboard</target>
    </targets>
    <targetConfigs>
        <targetConfig targets="analytics__Dashboard">
            <hasStep>false</hasStep>
        </targetConfig>
    </targetConfigs>
</LightningComponentBundle>
In this JavaScript code, we have the following key elements:
- We import the necessary modules and define the component’s properties, including getState, setState, refresh, and initialState.
- The clearFilters method is triggered when the button is clicked. It retrieves the current state of the dashboard, clears all filter values, and sets the state back to its initial state. This effectively resets all applied filters.
- In the connectedCallback, we initialize the initialState by getting the current state of the dashboard. This allows us to remember the initial state for later use.
Step 4: Deploy the Lightning Web Component
Once you’ve created your LWC for the Refresh Button, deploy it in your Salesforce org.
Step 5: Add the LWC to Your Tableau CRM Dashboard
To add the Refresh Button to your Tableau CRM dashboard:
- Edit your dashboard in Tableau CRM.
- Add a new “Custom Component” widget.
- Configure the widget to use your deployed LWC as the custom component.
- Save your dashboard changes.
Step 6: Test Your Refresh Button
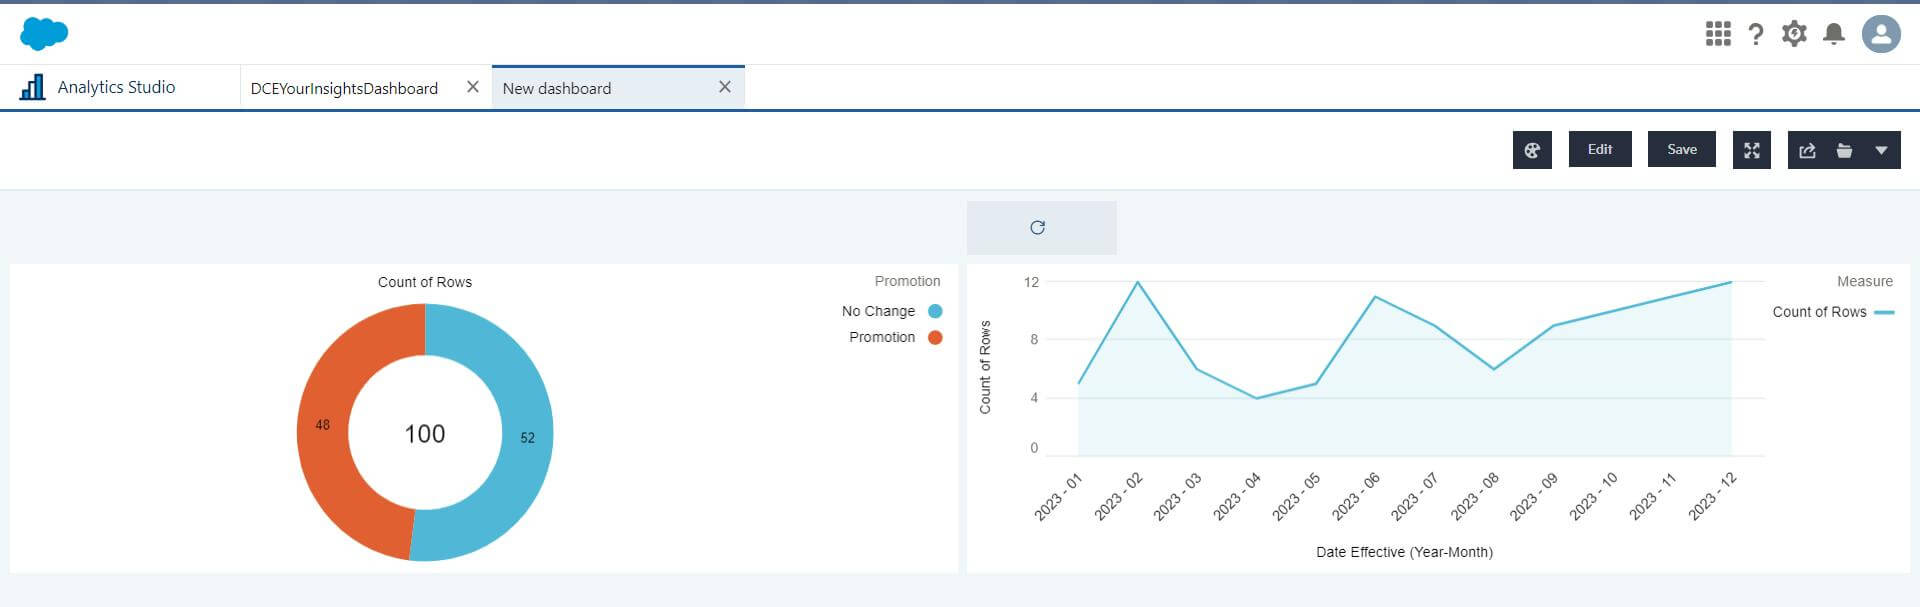
Now, when you view your Tableau CRM dashboard, you should see the Refresh Button. Clicking this button will clear all the filters and return the dashboard to its initial state, giving you a quick and easy tool for resetting your analysis.

How to add refresh button in tableau dashboard
Tableau CRM dashboard
Tableau CRM refresh button xml
Creating a refresh button in Tableau CRM using LWC is a quick and easy way to improve the user experience of your dashboards. It allows you to reset filters with a single click.
We encourage you to try out this tutorial and add a refresh button to your own Tableau CRM dashboards. You will be surprised to learn how much your users appreciate it!